Key takeaways
- Clean both surfaces thoroughly and let them dry before applying fresh paste.
- A pea-sized dot in the center is the safe amount for most CPUs; do not overdo it.
- Lower the cooler straight down and tighten screws in a diagonal cross pattern for even pressure.
- Reapply paste every few years or whenever you remove the cooler, since it dries out over time.
Thermal paste is the thin layer that fills microscopic gaps between your CPU and its cooler, letting heat flow efficiently into the heatsink. Get it right and your processor runs cool and quiet; get it wrong and you can see temperatures climb 10 degrees or more, forcing the chip to throttle.
Applying paste is simple once you know the fundamentals, and a quality compound plus the correct amount matters more than any exotic technique. This guide covers cleaning the old paste, choosing an application method, mounting the cooler, and the mistakes that cause poor contact.
Our top picks


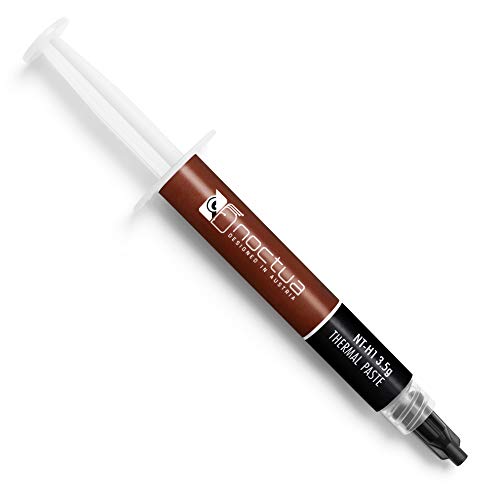


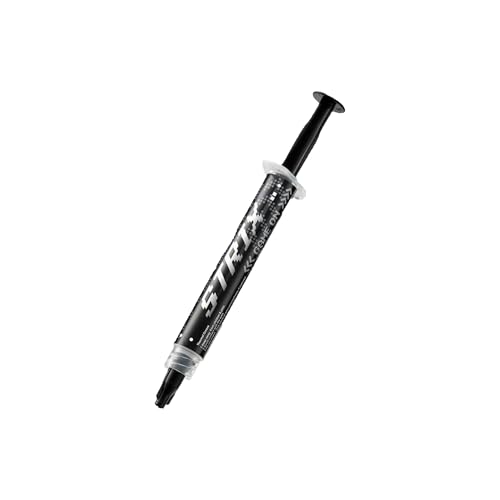
As an Amazon Associate we earn from qualifying purchases at no extra cost to you. Ratings are shown as listed on Amazon.
⚡ Save on Your Next PC — Amazon Prime
Prime members get fast free shipping on the systems above, plus early access to Prime Day & Black Friday PC deals. New members get a 30-day free trial.
Watch: How to Apply Thermal Paste Correctly — Video Review
Clean the old surfaces first
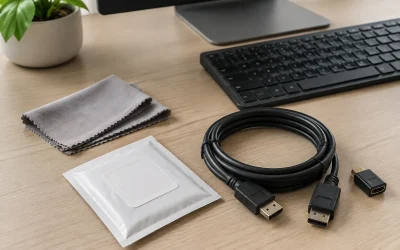
If you are replacing a cooler or redoing a hot CPU, remove the old paste completely. Wipe both the CPU heat spreader and the cooler’s contact plate with a lint-free cloth or the cleaning wipes included with kits like Noctua NT-H1 SW or Thermal Grizzly. A little isopropyl alcohol removes stubborn residue. Both surfaces must be clean and dry before you apply fresh paste for the best contact.
Choose the right amount
The most common mistake is using too much. For most CPUs, a pea-sized dot in the center is correct; the cooler’s mounting pressure spreads it into a thin, even layer. Larger chips with rectangular heat spreaders benefit from a thin line or two small dots. Too much paste insulates rather than conducts and can ooze onto the socket, while too little leaves gaps.
Pick an application method
The center-dot method is the most reliable for standard square CPUs because it spreads outward evenly under pressure. For larger or rectangular chips, some builders spread a thin layer manually with a spatula or use a roller applicator for thick compounds. Whatever the method, the goal is complete, thin, bubble-free coverage once the cooler is mounted.
Mount the cooler evenly
Lower the cooler straight down onto the CPU without sliding it around, then tighten the mounting screws in a diagonal cross pattern a little at a time. Even pressure across all corners ensures the paste spreads uniformly and the cooler makes flat contact. Uneven tightening is a leading cause of one hot corner and inflated temperatures.
Verify your results
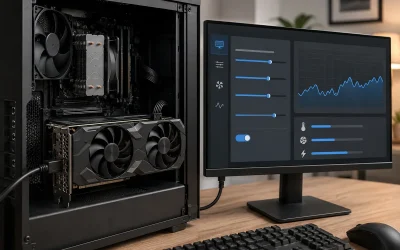
After mounting, boot up and monitor idle and load temperatures with software like HWMonitor. Well-applied quality paste on a properly mounted cooler should give you healthy temperatures with no single hot spot. If temperatures are unexpectedly high, the paste may be too thin, too thick, or the cooler mounted unevenly, in which case you remount with a fresh application.
Tips
- Clean both surfaces thoroughly and let them dry before applying fresh paste.
- A pea-sized dot in the center is the safe amount for most CPUs; do not overdo it.
- Lower the cooler straight down and tighten screws in a diagonal cross pattern for even pressure.
- Reapply paste every few years or whenever you remove the cooler, since it dries out over time.
Frequently Asked Questions
How much thermal paste should I use?
For most CPUs, a pea-sized dot in the center is ideal. The cooler’s pressure spreads it into a thin layer. Larger rectangular chips may need a thin line, but avoid using too much, which insulates instead of conducting.
Do I need to spread thermal paste manually?
Usually not. The center-dot method lets mounting pressure spread the paste evenly for square CPUs. Manual spreading with a spatula is optional and mainly useful for large or rectangular heat spreaders and thick compounds.
How often should I replace thermal paste?
Every two to four years for most systems, or any time you remove the cooler. Paste dries out over time, so refreshing it during a major clean or cooler swap restores optimal heat transfer.
Does expensive thermal paste make a big difference?
Quality paste beats cheap or dried-out compound by a few degrees, but the difference between good pastes is small. Proper cleaning, the right amount, and even cooler mounting matter more than chasing the absolute best paste.
Conclusion
Applying thermal paste well is a fundamental skill that keeps your CPU cool and throttle-free. Clean both surfaces, use a modest pea-sized amount, mount the cooler straight and evenly, and verify your temperatures afterward. Master these basics and you will get the full cooling performance your heatsink or AIO is capable of delivering.